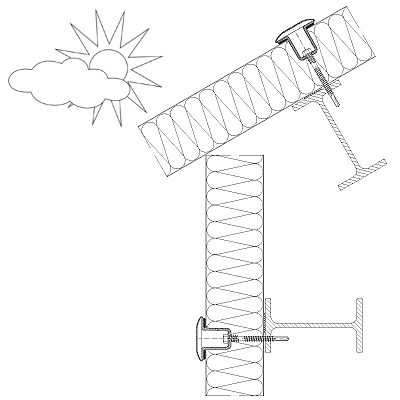
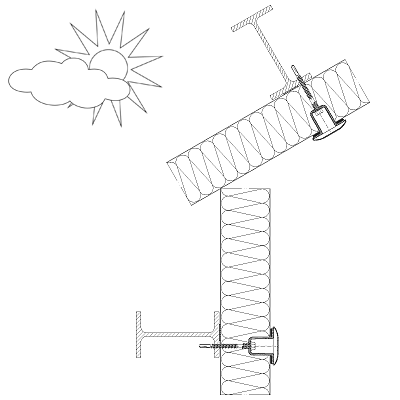
INSTALLATION OF CONNECTORS LAX
1. The number of connectors per support point and the spacing method are determined by the manufacturer of the sandwich panel cooperation with the designer, taking into account the technical parameters of the board and the working environment;
.
2. Min. quantity per slab support point: 2 pcs., unless the designer specifies otherwise;
.
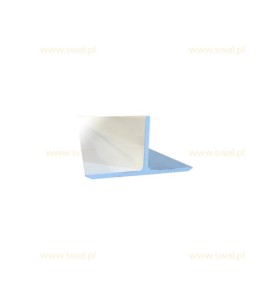
3. LAX can be mounted on the edge of a sandwich panel (sheet metal with a minimum thickness of 0.5 mm), the circumference of the LAX cap cannot extend beyond the motherboard;
.
.
4. LAX should be placed symmetrically, unless the designer specifies otherwise;
.
5. Holes in the sheet metal cladding are cut with a hole saw with a diameter of 24 mm, to a depth of 15 mm;
.
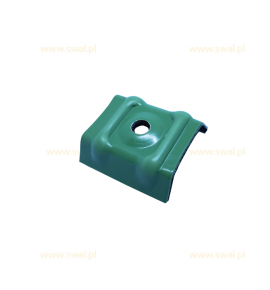
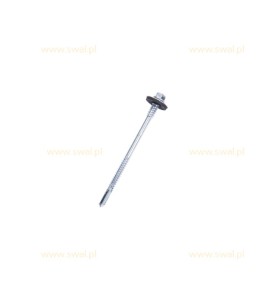
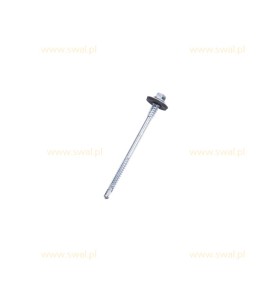
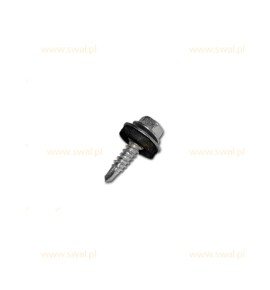
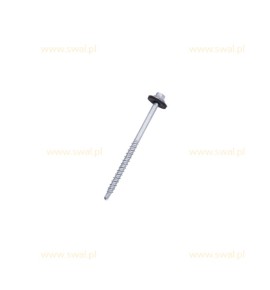
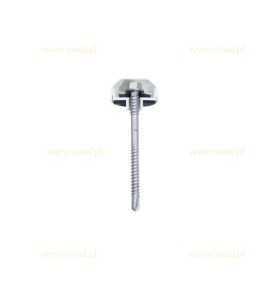
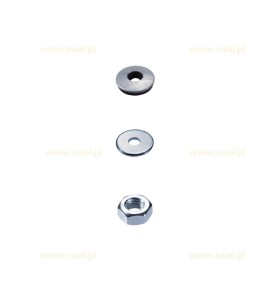
6. After inserting the sleeve, assembly is carried out using a screw with an EPDM washer with a diameter of 16 mm and steel. galvanized or stainless steel; The gasket on the screw should effectively seal the connection with screw thread and LAX sleeve bottom (same for threaded rod);
.
7. An EPDM gasket should be installed under the sleeve flange;
.
.
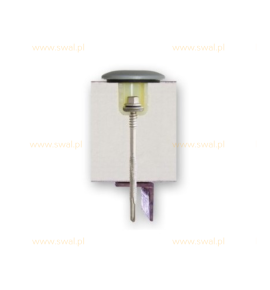
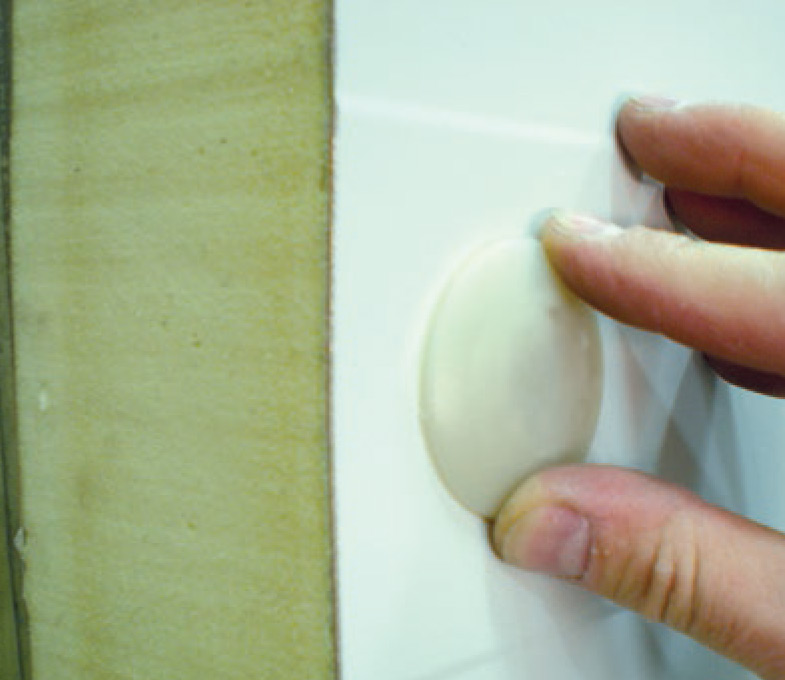
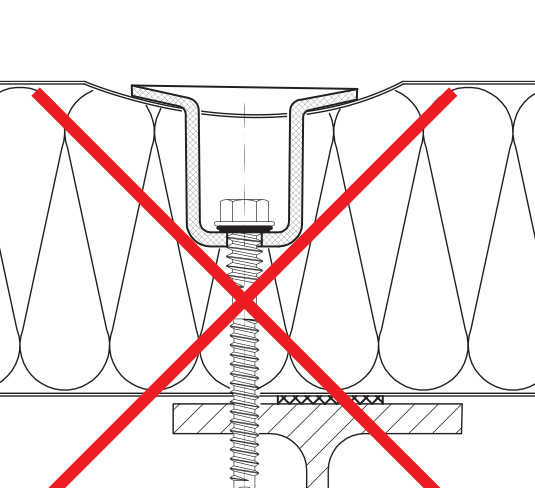
8. After tightening the screw, put on the cap. If you can't put it on, you have tightened it too much screw. Then we turn the screw back a few turns. If the nut is too loose, tighten the bolt.
.
CORRECT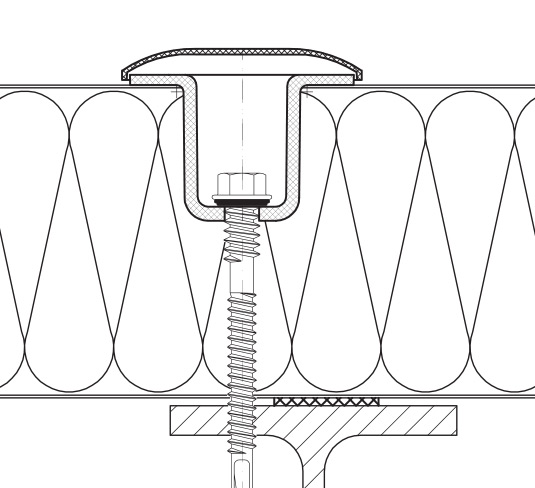
.

NO CORRECT

.
9. No chemicals (foams, putties, sealants) should be injected into LAX sleeves without testing. without checking the chemical reaction with the material and obtaining SWAL's consent;
.
10. Video instruction: Assembly video of LAX connectors
.
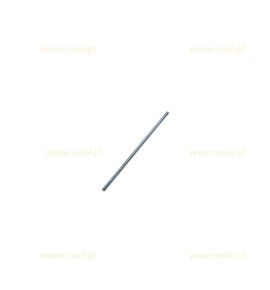
11. If the ceiling is suspended on threaded rods, threaded steel rods should be used galvanized M6 class 5.8 or stainless steel and a set of EPDM, steel washers and nuts galvanized or stainless steel;
.

.
12. You should always adhere to the data provided in technical documents and construction certificates available on the website swal.pl in the Certificates tab.
.
INSTALLATION INSTRUCTIONS FOR LAX CONNECTORS
.
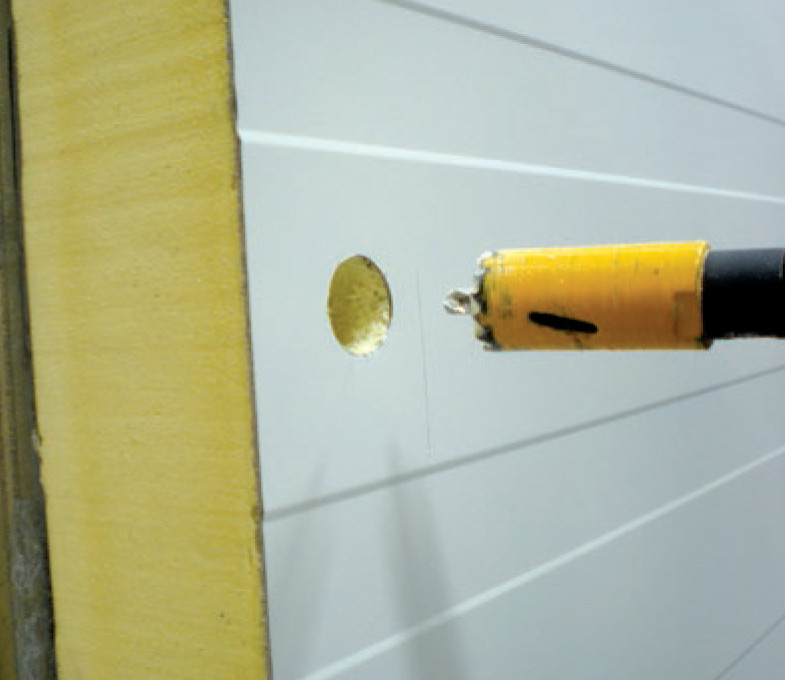
1. Using a SWAL hole saw, drill a hole in the board with a depth of no more than 25 mm using a rotation speed of 390 rpm.
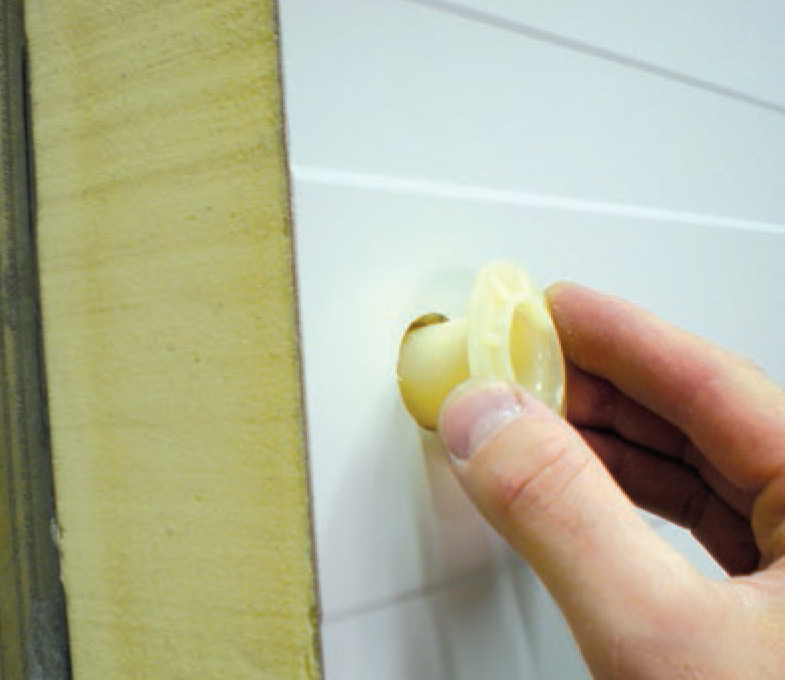
2. Insert LAX into the drilled hole
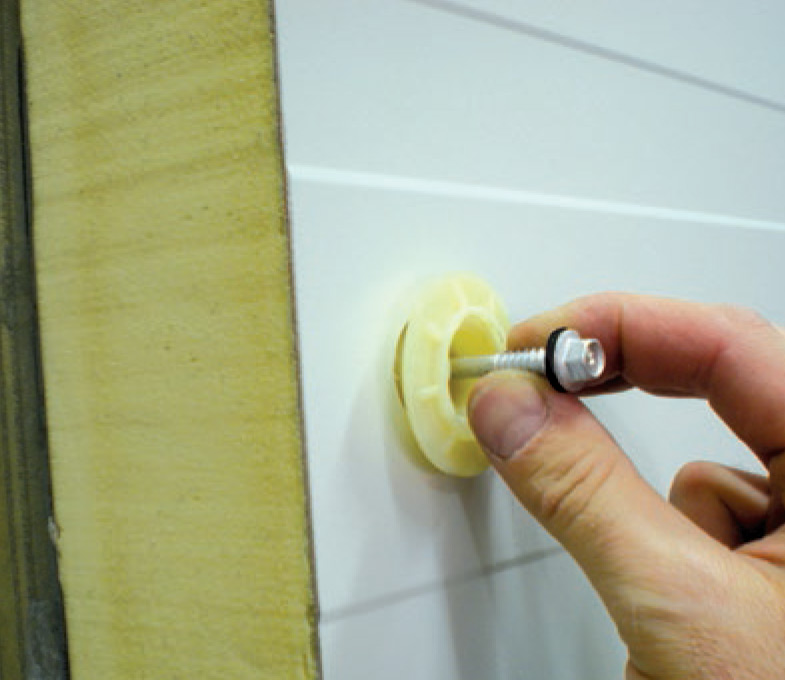
3. Insert the LAX screw
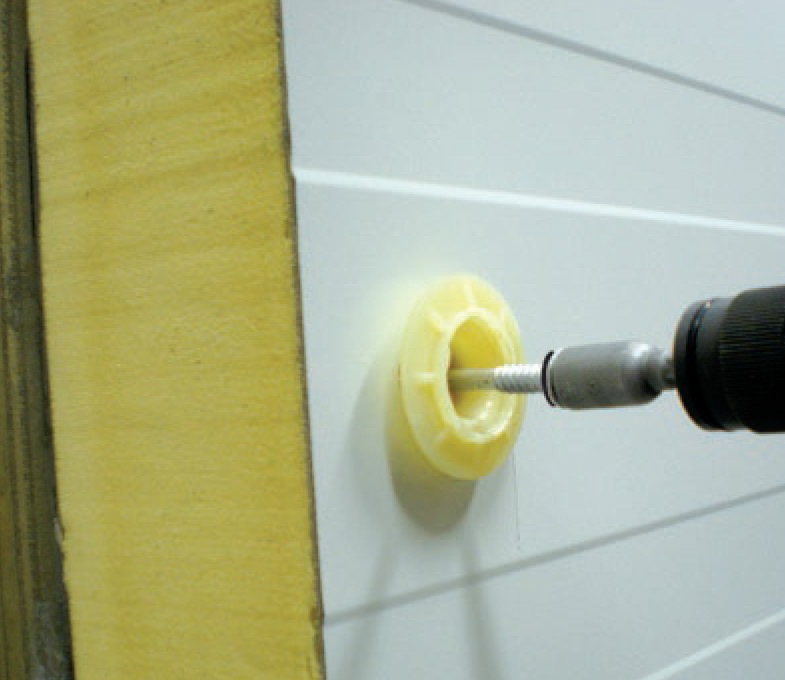
4. Install the screw, without causing the external lining of the board to deflect


 PL
PL
 DE
DE
